Aphelion’s header doesn’t use an image logo out of the box. By default it shows the theme’s icon mark next to your site title, and both are easy to change — for most sites, branding the header simply means setting your own title and, optionally, swapping the icon.
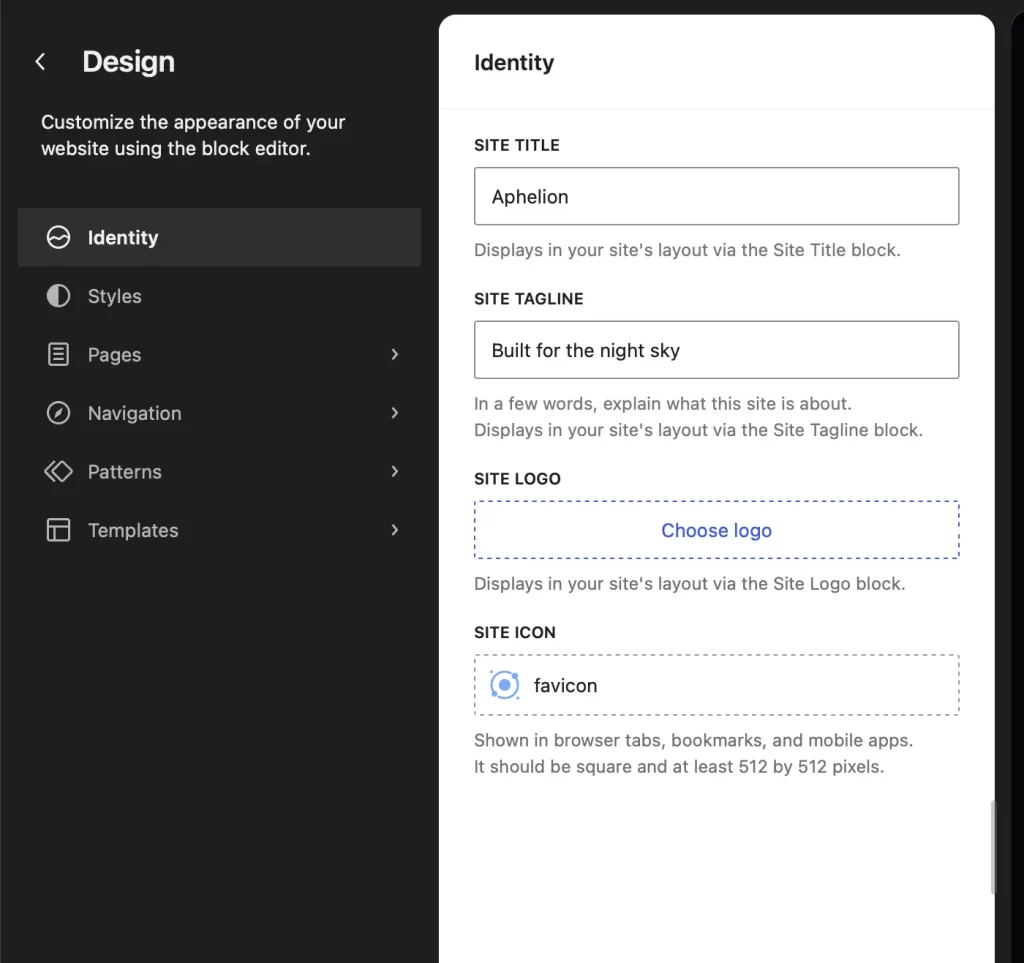
Changing the site title
- Go to Appearance → Editor → Identity (WordPress 7.1 or later).
- Enter your site title and click Save.
On older WordPress versions, the same setting lives under Settings → General → Site Title.
Changing the icon mark
- Go to Appearance → Editor → Patterns → All template parts and open the Header.
- Select the Icon block next to the site title.
- In the block settings, pick a different icon or paste your own SVG, and adjust the color and width to taste.
- Click Save.
Using an image logo instead
If you’d rather show a full image logo (for example, a wordmark), upload it first under Appearance → Editor → Identity. WordPress displays the uploaded logo wherever a Site Logo block is placed — and since Aphelion’s header uses the icon and site title combination instead, you’ll swap those out once:
- Open the Header template part in the Site Editor.
- Remove the Icon block and the Site Title block.
- Insert a Site Logo block in their place — it picks up the logo you uploaded automatically.
- Set the logo width in the block settings and click Save.
The header sits on a dark background, so use a light version of your logo — an SVG or a PNG with a transparent background works best. The footer uses the same icon and site title combination; repeat the steps there if you want the image logo in both places.