Introduction
Typography plays a crucial role in defining the look and feel of your website. With Full-Site Editing (FSE), WordPress allows you to customize fonts, sizes, line heights, and more using the Site Editor.

Changing Global Typography Settings
To modify typography settings site-wide:
- Log in to your WordPress dashboard.
- Navigate to Appearance > Editor.
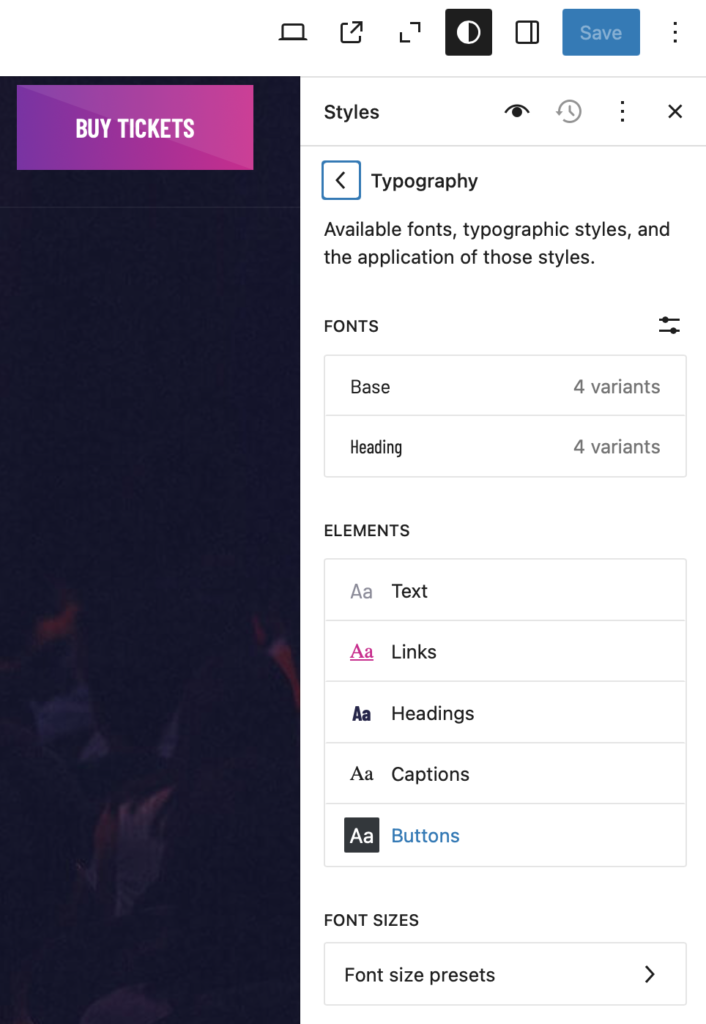
- Click on the Styles (paintbrush) icon in the top-right corner.
- Select Typography.
- Adjust the settings for Text, Headings, Links, and Buttons.
- Click Save to apply the changes.
Customizing Typography for Specific Blocks
If you want to customize typography for individual blocks:
- Open Appearance > Editor and navigate to the page or template you want to edit.
- Select the block you wish to customize (e.g., Heading, Paragraph, Button).
- In the right sidebar, click on the Styles tab.
- Modify settings such as Font Family, Font Size, Line Height, Letter Spacing, and Text Decoration.
- Click Save to update the changes.
Using Custom Fonts
To add custom fonts to your theme:
- Install a plugin like Create Block Theme or Typography Manager.
- Upload your custom font file (WOFF, WOFF2, TTF, or OTF).
- Assign the new font through Appearance > Editor > Styles > Typography.
- Click Save to apply the custom font.
Creating a Consistent Typographic Style
- Use a limited number of fonts to maintain visual harmony.
- Set a clear hierarchy with different font sizes for headings and body text.
- Adjust line height for better readability.
- Ensure text contrast for accessibility.