Setting Up Navigation
Introduction
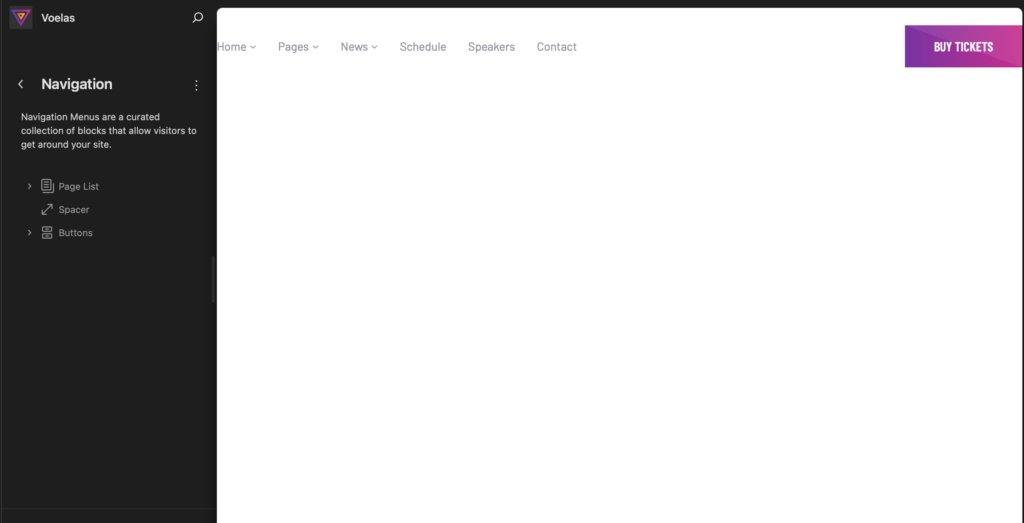
Navigation menus are essential for guiding users through your website. In a Full-Site Editing (FSE) WordPress theme, you can create and customize navigation menus directly in the Site Editor. This guide explains how to set up and manage your website’s navigation.
Adding a Navigation Menu
To create a navigation menu, follow these steps:
- Log in to your WordPress dashboard.
- Navigate to Appearance > Editor > Navigation.
- Click Manage menus and choose an existing menu or create a new one.
- Add menu items by clicking the + Add Block button and selecting pages, categories, or custom links.
- Reorder menu items by dragging them into position.
- Click Save to apply the changes.
Managing Menu Items
- Reorder Items: Drag and drop menu items to rearrange them.
- Add Submenus: Click on a menu item and select the Add submenu option.
- Edit Links: Click on any menu item to change its URL or title.
Styling the Navigation Menu
You can customize the menu appearance using the Styles panel:
- Typography: Adjust font size, weight, and spacing.
- Colors: Change text and background colors.
- Layout: Modify padding and alignment.